Now I did keep a few from the original set of resolutions, but I also added two new ones. So there you have it. Hopefully I can do a better job at sticking to these, than the original ones. MOTIVATION IS KEY!
Monday, March 31, 2014
Resolution Recap
Ok so tomorrow is April, and it's about time that I do a better job at holding myself responsible for my New Years resolutions. So I sat down and decided to redesign them, because the original one just wasn't working for me anymore. These resolutions are rethought out and will hopefully help me do a better job of reaching my goal.
Now I did keep a few from the original set of resolutions, but I also added two new ones. So there you have it. Hopefully I can do a better job at sticking to these, than the original ones. MOTIVATION IS KEY!
Wednesday, March 19, 2014
Book Review: Long Knives
As you know if you have been following my blog for a while I created a set of New Years Resolutions that I have been trying my hardest to stick to, and one of them was to read at least one book each month. Now this has been really easy for me to do and I have generally been reading more than one book a month (because I LOVE my Kindle!). Anywhoo, since I am devouring all these books which are all great, I wanted to start reviewing them on my blog so that I could share them with you.
So one of the books that I have read recently is called Long Knives by Charles Rosenberg.
To be entirely honest I was not sure what I was going to think about this book when I first got it. Just so you know I got it free through Amazon First, which is where all Amazon prime users get one free kindle book a month before it is officially released. Awesome right? I'm glad that I found out about it because I have gotten some pretty awesome book for free because of this so if you have Amazon prime you can already do this!
Moving on to the actual book...
Okay so it is a murder mystery/ legal thriller (as it says on the cover). The book is about a law professor who teaches Nautical Law (cool right?) named Jenna. The book starts out with a student in one of her classes that says he has a treasure map for her too look at. Then after a few unfortunate events, the book quickly professes to a great whoodunit finish.
Overall it was a fantastic book and I just flew through reading because it was so easy to get sucked into the characters world. Also a fun fact about the author of the book, he is an actual practicing attorney. So the legal jargon within the book is incredibly accurate, but not in a way that makes it boring to read.
It's only $5 on Amazon for the Kindle edition (which really isn't that expensive for a good book). The link is under the picture of the book cover if you wanna check it out, but I am not being compensated for this post in any way. I just wanted to share a fantastic book find with all of y'all!
Sunday, March 9, 2014
Netflix Movie Review: Sassy Pants
Hey guys! So today I want to tell you about this little gem of a movie that I found on Netflix. It's a little movie called Sassy Pants. I had never heard of this movie before finding it on Netflix, but it came out in 2012, so it's not an old movie by any means.
As you can see from the movie poster here, it has some pretty good actors/ actresses in it. Like Anna Gunn, which most of you probably know as Skyler from a little show called Breaking Bad. Then also the lead of this movie Ashley Rickards, has been in a few things such as MTV's Awkward, One Tree Hill, and American Horror Story.
So on to the actual movie itself, its a witty charming comedy, with a little bit of drama and a lot of teenage angst. It's about a girl, Bethany, who has been raised and homeschooled by her mother. She has a moment and rebels against her mother and then the rest of the movie shows her journey of her trying to achieve her dreams, while spending quite a bit of time with her gay father and his hilarious boyfriend.
Overall, it was a great movie but probably not necessarily one of those that you watch more than once. But if you are looking for something that is funny with some great actors this is a good choice. It would be great for a girls night in, but I wouldn't recommend it for younger children because of some of the content. If you get a chance you should definitely check this one out!
Tuesday, March 4, 2014
Simple Salmon Pea Pasta
Yay for Fit Tip Tuesday! I am excited to share a super yummy (mostly healthy) recipe that I like to make to have for lunch some weeks. It is really really easy and only has 4 ingredients, most of which you probably have around your house.
You Need:
2 Cups of Shell Pasta (you can really use any kind, but i’ve found shells work best)
1/2 Can of Peas
1 Can of Salmon
Mayonaise
So you wanna cook the pasta, as per the directions depending on what you are using. Once the pasta is done, drain the pasta. Then put the pasta in a medium sized bowl. Then you want to add your salmon and peas, and mix them together. Then you want to add enough mayonnaise to coat what you have in the bowl, I probably generally use a few large spoonfuls (you really don’t need a whole lot). Then you want to stick it in the fridge and let it sit for about 2 hours so that it has time to chill. Then eat!
I love this recipe because it is easy, and really inexpensive to make. Then it usually will last me for lunch for about a week, which makes it even more cost friendly.
So there you have it a super simple easy delicious lunch recipe!
Wednesday, February 26, 2014
Vera Bradley Haul
So this post has definitely been a long time coming! If you didn't know I lovelovelove me some Vera Bradley. So S got me three vera items for Christmas, and then I bought myself a couple more because their after Christmas sale was INSANE. Anywhoo, here it goes.
This is one of the items that I purchase myself, and it is a holder for my kindle. I love the print, and I love that it is super easy to just pop my kindle in here and then just toss it in my bag.
This is the other item that I bought for myself and it is a lap desk. I got one of these to replace one that I had previously purchased from Ikea. Personally I like this one better because it has a comfy cushion on the bottom that makes it comfortable to use. It's also large enough that if I want to use it to work on homework I would have plenty of room to have paper spread out.
The next three items were Christmas gifts from S. This is actually the second one of these that I own now, and they're great! It's a wristlet, and inside it has a zipper pocket and card slots. I like these because they are great to grab when you need a few more things than just a wallet, and my phone also fits in it with room to spare.
This is also the second one of these that I own, and that's because it excels in being functional! I like to attach my keys to this and then just carry it around. It has room for some change or a small amount of cash, and your ID and a card. The card holder is actually made so that you don't even have to remove your card in order to swipe it. Super functional!
The last item, and the most used so far, is this large vera tote. Trust me when I say it is LARGE. In fact I had no idea how big it really was until it was in my hands. I use this bag right now to carry my stuff around at school on my class heavy day, and there is still free space! Honestly this would also make a great overnight bag. You could probably fit a few days worth of clothes and other stuff in this bag. It has a small zipper pocket on the inside, and two pockets on the outside (where the design is). The outside pockets I use mainly to hold my water bottle, but you could probably fit 2 water bottles. Seriously, this bag has tonnnnssss of space!
So there you have it, my most recent Vera haul. Do you have any favorite Vera items?
Tell me about it in the comments!
Monday, February 24, 2014
"It's a-me, Mario!"
Good Morning everyone! I'm so excited to be here today sharing some fun and exciting things from this weekend. First off, I created this cute little graphic to add to all my weekend posts from here on out. I just wanted something that made it easy for you to know when my post was about my weekend, and would be easy for me to find (tagging wise). I know that a lot of my weekend posts all have random titles and I wanted to make everything a little more streamlined.
So on to the actual reason for this post. The weekend itself was great in a low key, didn't do a ton of stuff but everything that we did was fun. S spent most of the weekend relaxing and catching up on his video game time, and I worked on a little project that I hope to unveil really soon, so stay tuned for that! But the other exciting thing that S and I did this weekend, was purchase something.
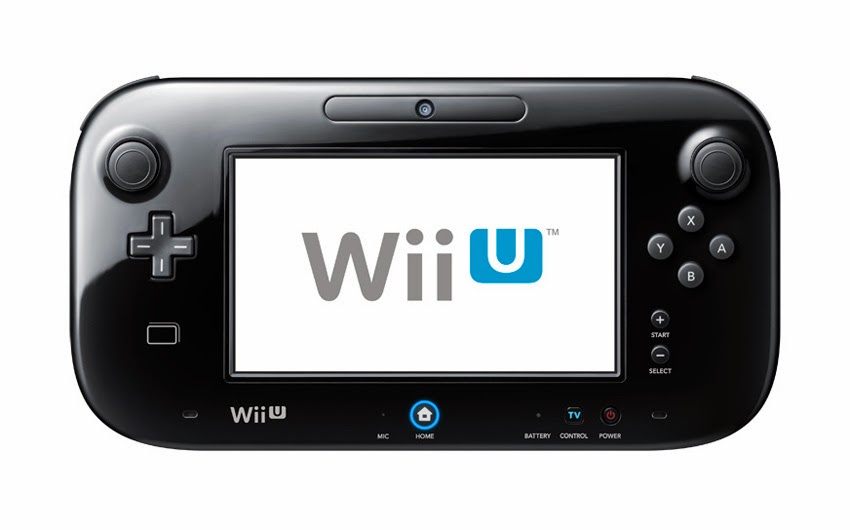
YUP! We bought a Wii U this weekend, and then had a blast playing it!
We actually got this bundle here which was a great deal. It came with the system, and then 2 games, Super Mario Bros. and Super Luigi.
Then we also purchased this little gem, which was literally just released a few days ago, but we both love donkey kong so it was our game of choice to buy separately.
If you don't know a lot about the Wii U basically it comes with a game pad, and the game pad is not only a controller, but you can also you the game pad to play by yourself without actually needing to turn on the tv since it has a built in screen. You could also play in a different room from someone if you wanted, but most people like to play together so that's not really that big of a bonus. But on the other hand you could sit in bed, and play and that is pretty cool. Overall so far I like it, and I think S does too, (even though I kinda suck at Mario, but i'm going to keep practicing, haha) Also another note is that the Wii U system is backwards compatible (though i'm not sure if they would support the game pad) so you could pick up some of the earlier Wii games pretty cheap online through ebay or amazon.
So that was my Wild Weekend. Do any of you have a Wii U or have considered getting one?
Tell me about it in the comments!
Saturday, February 22, 2014
How to Create Your Own Binder Cover
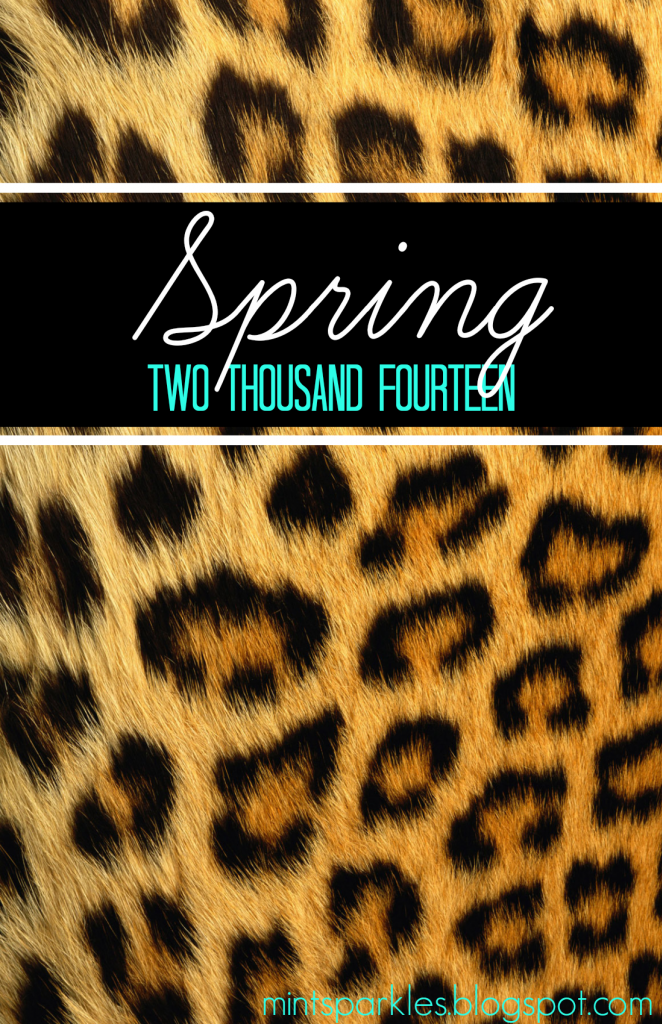
Hey guys! So for those of y'all that saw my instagram post yesterday, I posted about a cover that I created for my binder for my classes this spring. It looks a little something like this:
So I thought that I would do a little tutorial and show you all how to create your own personalized binder covers! I used PicMonkey for my tutorial >>here. Which is online and free for everyone to use.
So the first thing that you want to do it go to resize, uncheck keep proportions, and then set the size to 1100x1700.
Next you want to go to the overlay tab, and select Your Own at the top, then add whatever image that you would like to be your background.
Then just drag the image until it covers all the white space.
Next you are going to add some overlays. So click on geometric, and then add a rectangle, which you then need to drag to create the size that you would like. Then add another smaller rectangle, change the color to white, and then resize to look more like a line. Then just right click and duplicate that so you don't have to worry about creating another that is exactly the same size.
This is what it looks like with the overlays in place. Obviously since you might want to do something a little different feel free to play around and create your own combination of overlays!
Next I added some text (again feel free to personalize however you want!) A good trick when adding text that you want centered it to actually click the button to center the text in the box itself and then drag the edges so that they are at the edges of your design, then you don't need to worry about making sure it's centered.
THE FINISHED PRODUCT! So now you want to save that bad boy that you just created to your computer. MAKE SURE that you save it as a .png file!
Next you want to copy that image from wherever you saved it on your computer.
Then open up Pages, if you have a mac or it should work just fine in word as well. If you are using pages make sure to zoom out to 75% then paste your image.
Drag it to fit the size of the paper, and adjust as needed. TADA! You just learned how to create some super awesome custom covers for every binder that you own! On the other hand if you just really really like the one that I created, then you can download your own copy right HERE. Just right click and then save the image. Enjoy!
Subscribe to:
Posts (Atom)
Check it Out!
Link Within